



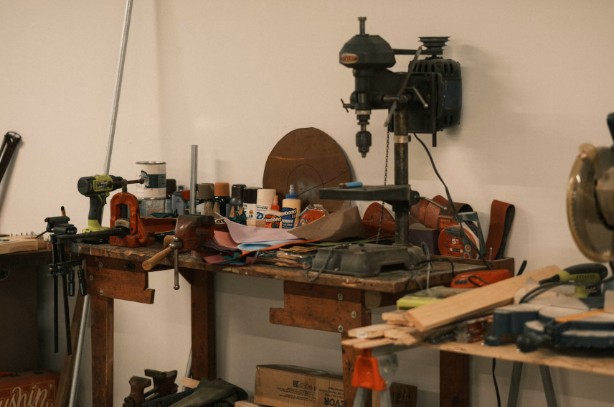
An awkward alcove, box room or spare corner can become a practical maker station without taking over the rest of your home. The key is to match the workspace to the projects you actually enjoy, then build in enough flexibility for future interests. A well-planned station can support electronics, model making, sewing and small craft projects whilst keeping tools, materials and cables under control.
Assessing Space and Ventilation Requirements
Start by measuring the full width, depth and height of the corner, including skirting boards, sockets and nearby doors. A worktop around 60 cm deep suits many seated tasks, though a shallower 45 cm surface may fit a compact alcove. Mark the proposed footprint with masking tape so you can test chair movement and access before buying anything.
Ventilation depends on the materials you use. Open a nearby window and consider local extraction for processes that create fumes or fine dust. Keep heat-producing equipment on a clear, stable surface. Established facilities such as the Creative Maker Studio separate activities into suitable working areas, which is a useful principle to copy at home even on a smaller scale.
Building Modular Worktops With Quality Boards
A modular worktop makes the station easier to repair, rearrange or expand. Build two small units instead of one fixed structure, using matching heights so they can sit side by side or move apart. One module might hold a cutting mat whilst the other supports a laptop, sewing machine or electronics project.
Choose boards according to the expected load and finish. Suppliers of timber & sheet materials offer options for DIY enthusiasts who need suitable stock for worktops, frames and shelves. Seal exposed edges to reduce wear and use adjustable feet if the floor is uneven. Fix tall shelving securely and ask a qualified tradesperson for help if the wall construction or safe fixing points are unclear.
Smart Tool Wall Systems for Quick Access
Vertical storage keeps the work surface available for the project in front of you. A pegboard, slotted panel or rail system can hold scissors, rulers, pliers and reels within easy reach. Place frequently used tools between waist and shoulder height, then reserve high shelves for lightweight supplies used less often.
Give every holder a clear purpose and leave some empty space for future equipment. Labels help when drawers contain similar components, particularly screws, cables and craft fittings. Shared studios often use defined storage and access rules, as shown in these maker space policies. At home, a simple reset routine serves the same purpose: return tools, clear scraps and photograph unfinished setups before packing them away.
Task Lighting for Intricate Detail Work
General room lighting rarely provides enough clarity for soldering small components, painting models or threading dark fabric. Add an adjustable task lamp that can direct light across the work without casting your hands into shadow. A clamp-mounted model saves desk space, whilst an articulated arm lets you alter the angle as the project changes.
Choose a lamp with a diffuser to reduce glare from glossy surfaces. Neutral white light, often around 4,000K, gives a clear view of colours without feeling as stark as some cooler lamps. Position screens at right angles to windows where possible and route lamp cables along the rear edge of the worktop. A switched extension lead mounted away from the floor can also make shutdown easier.
Before using the finished station, complete one small project from start to finish. You’ll quickly notice if the cutting mat needs more elbow room, a tool holder sits too high or the lamp needs to move. Those minor adjustments are exactly why a modular corner works so well: it can evolve each time your creative habits do.








 Cyber Geek Girl